Description
Required Attributes Defined
What’s The Big Deal?
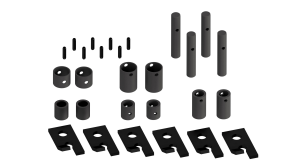
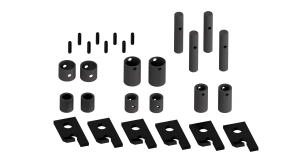
After a lot of effort, we have been able to determine that there are five (5) distinct and easy-to-determine attributes about your specific chipper that, if accurately identified, will allow us to determine the specific combination of Rotor Removal Tool components you need. Other “faster” shortcut ways of choosing the Rotor Removal Tool components leave too much room for error. Knowing how our chippers have been assembled over the years allows us to “fact-check” your responses to ensure you get the right parts.
 |
Rotor Shaft and Rotor Bolt Identification
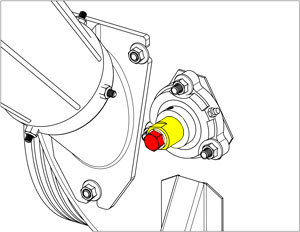
The adjacent image shows the location of the rotor shaft (colored yellow for ease of identification) that passes through the greasable bearing. It also identifies the rotor bolt (colored red) that goes through the center of the rotor shaft. |
 |
Width of Rotor Bolt Head
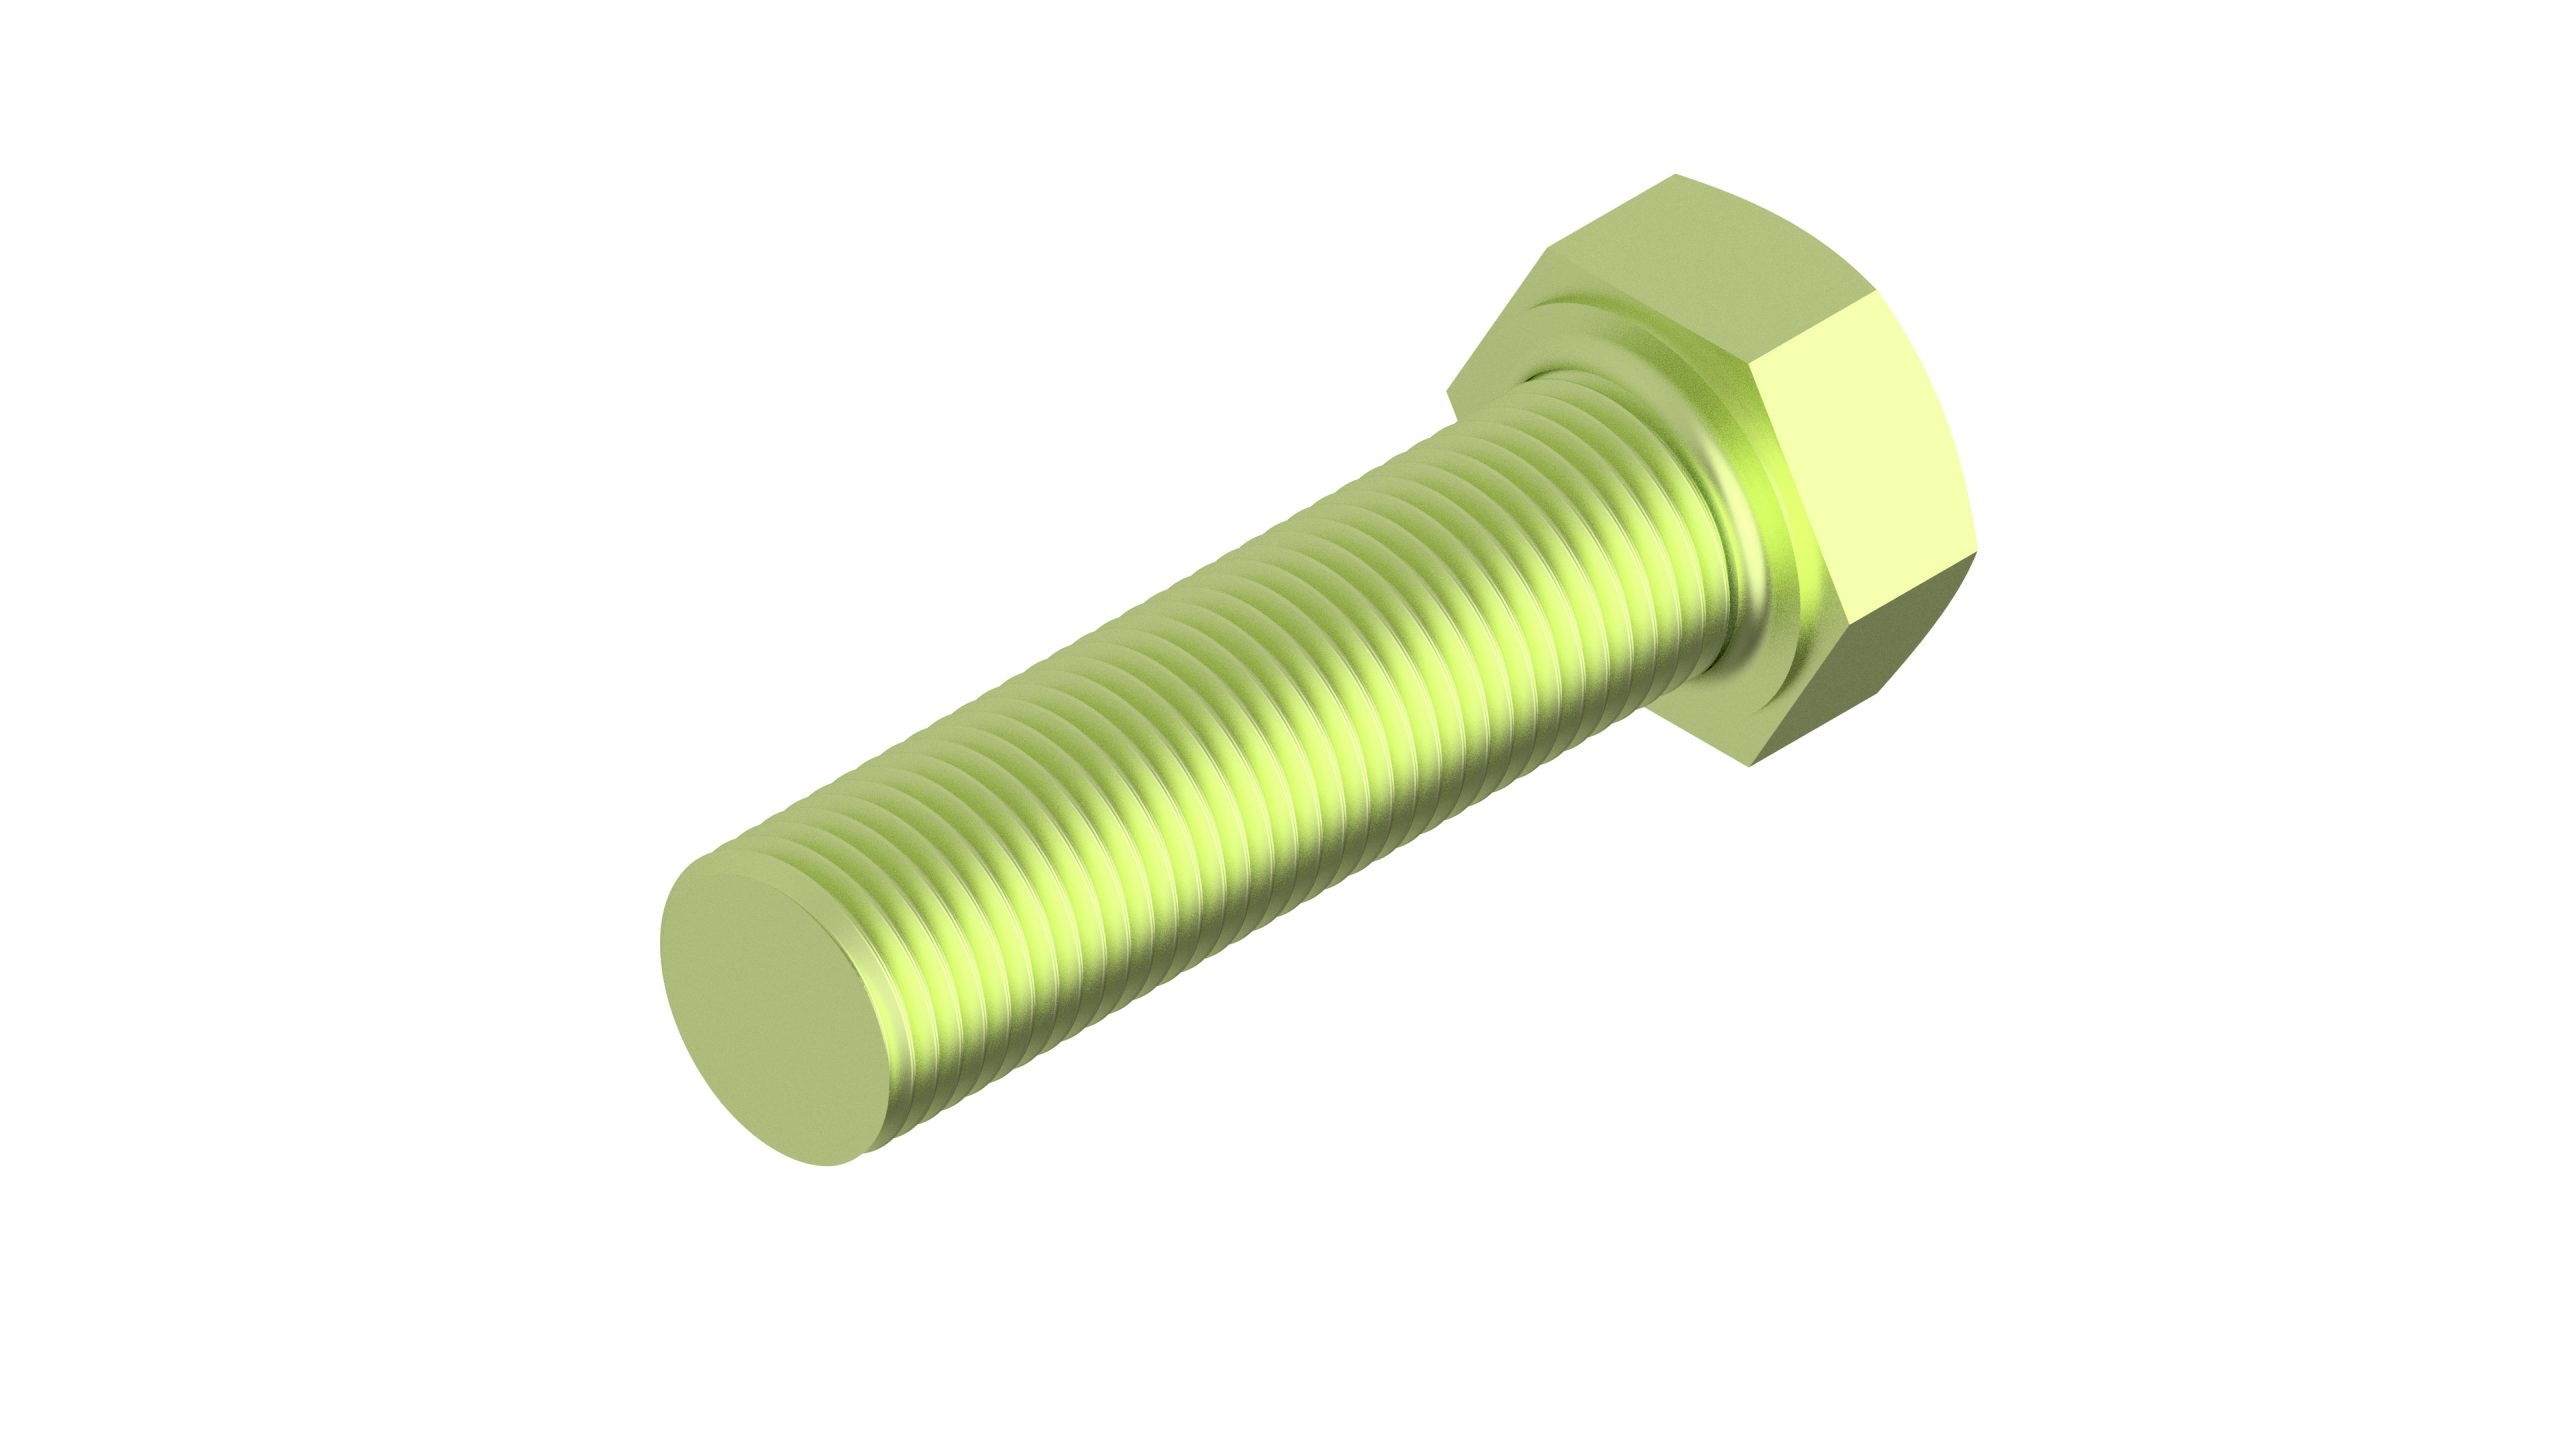
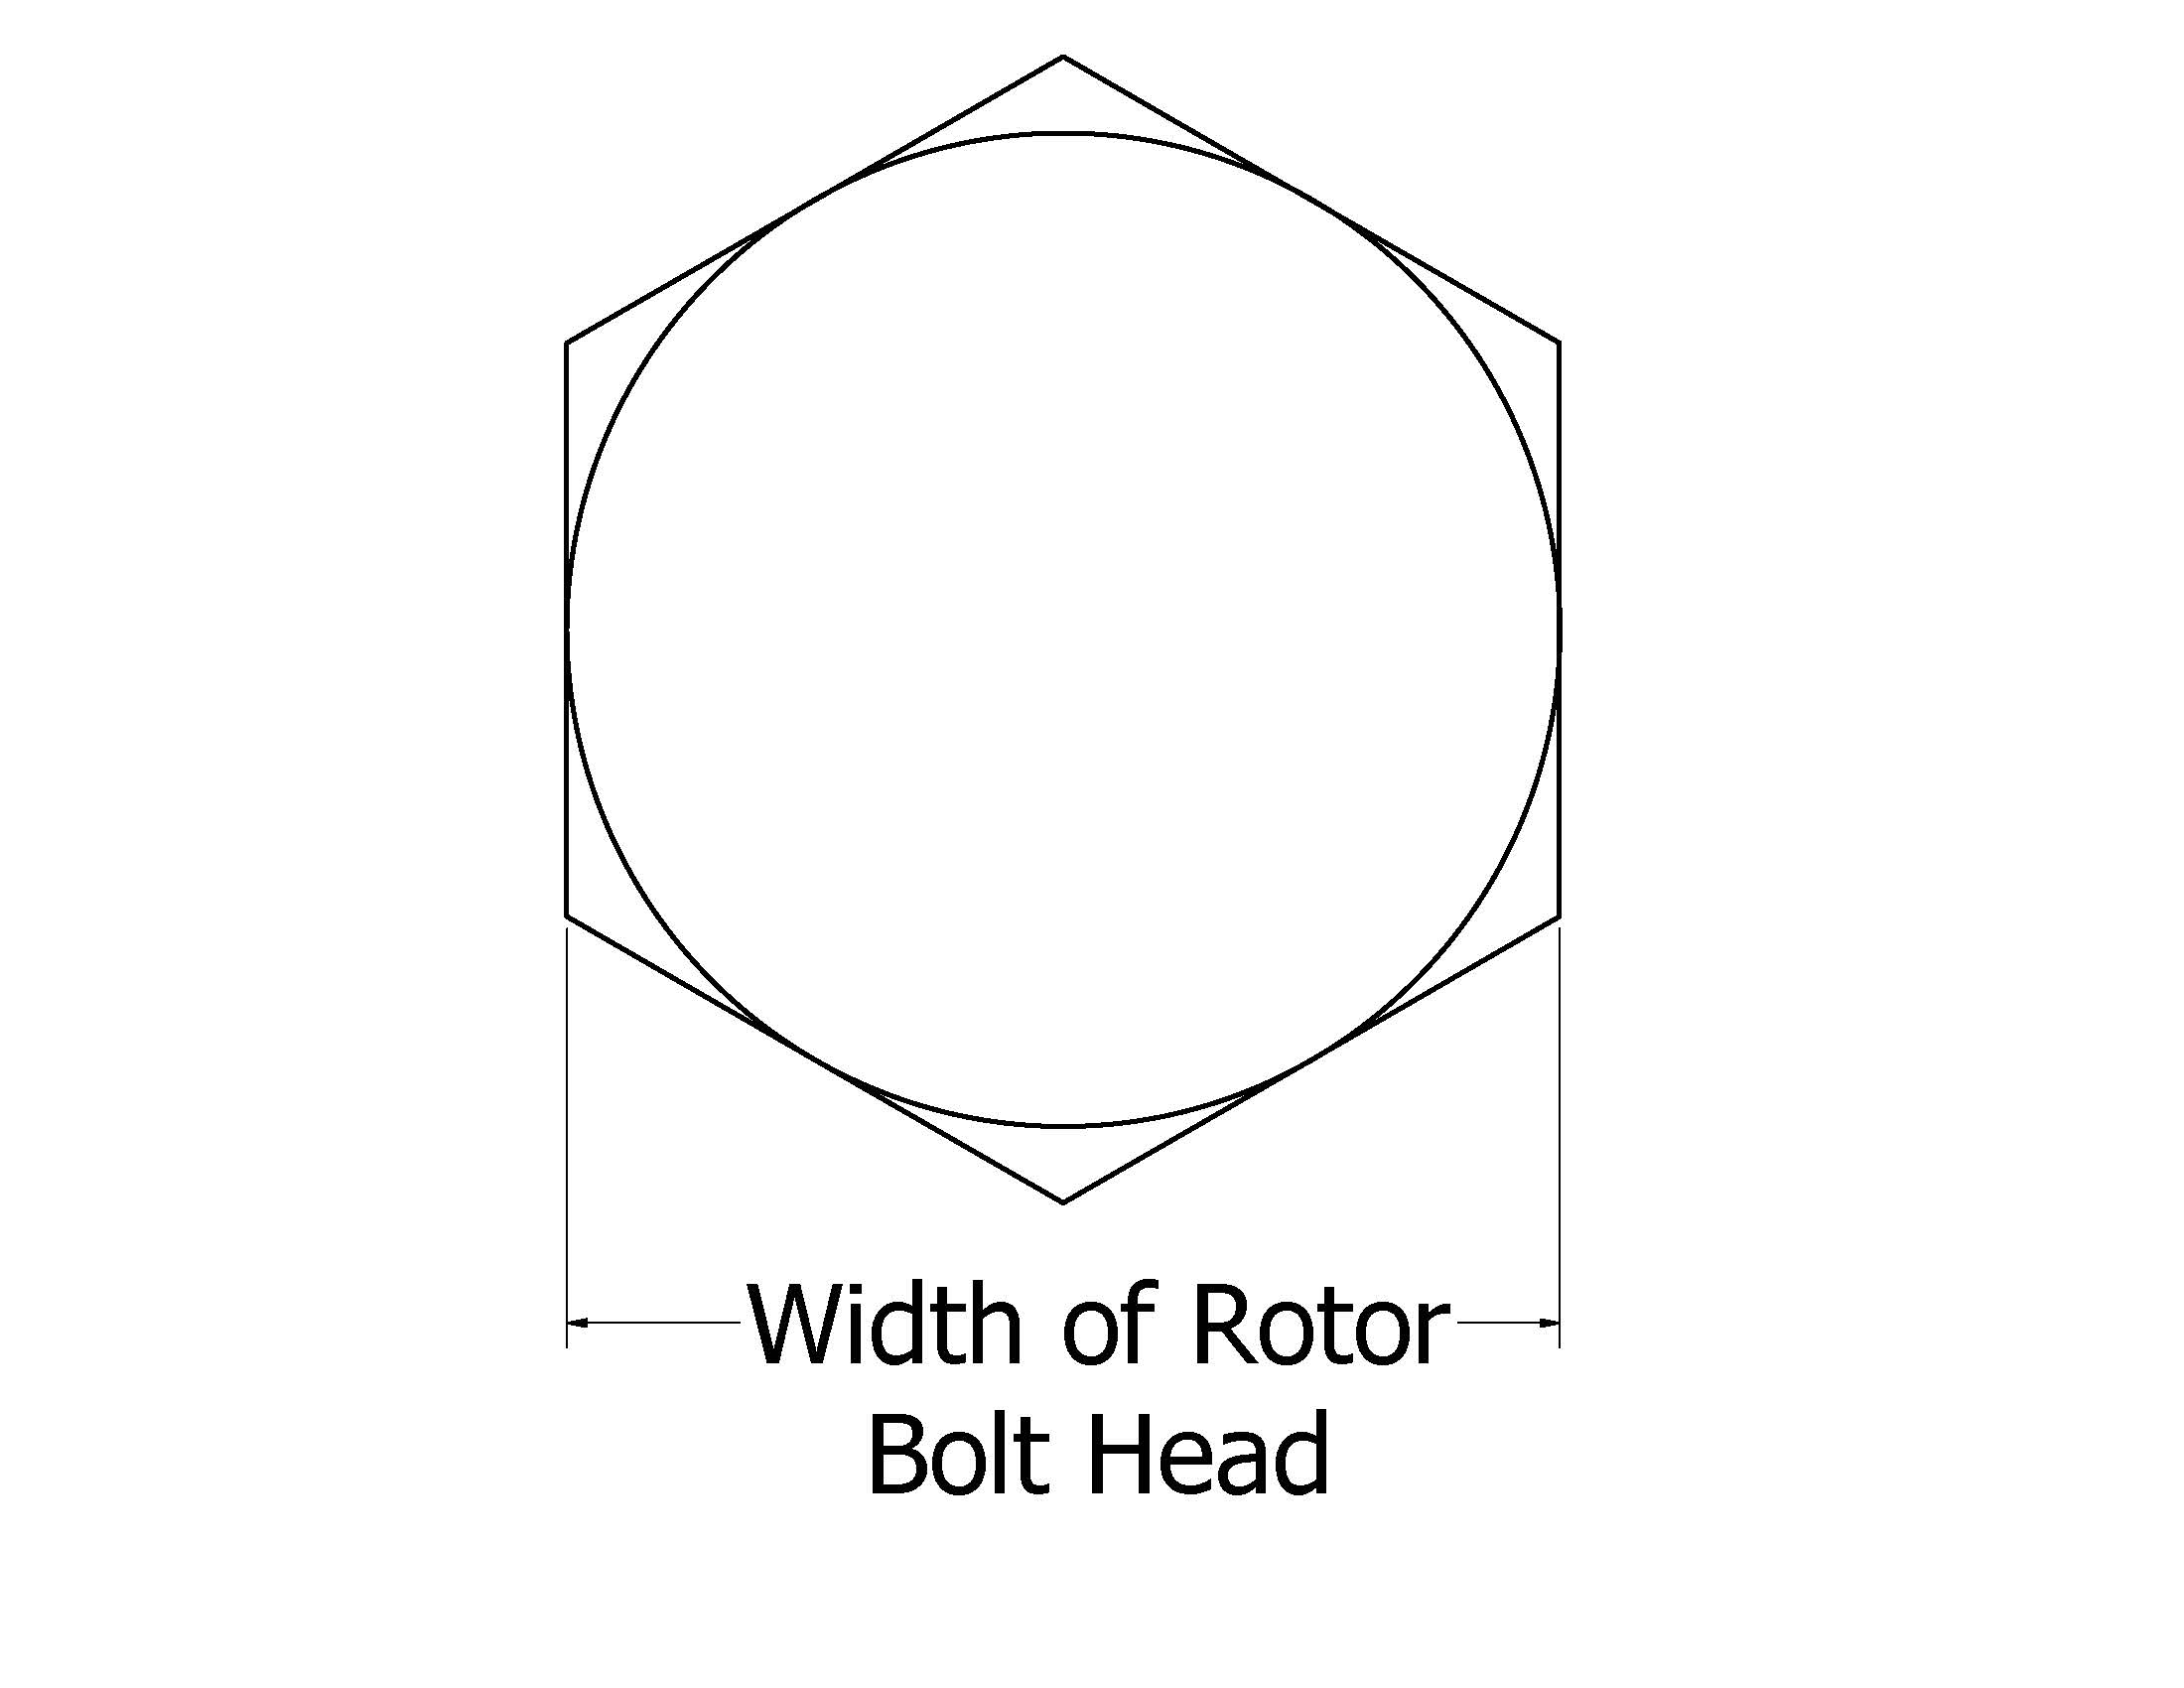
The first attribute we need is the Width of the Rotor Bolt Head in inches. It is the “distance across the flats,” as depicted in the adjacent image. This measurement corresponds to the wrench size required to remove the bolt. Note: YOU NEED TO ACTUALLY MEASURE THIS DISTANCE! Don’t try to shortcut the process by looking up information in your instruction manual, parts list, or on our website! ALL of these resources have the potential to inaccurately reflect the parts used to actually build YOUR SPECIFIC UNIT. Measuring this distance is the ONLY way to ensure you get the right parts. Valid values for this attribute are: 1/2″, 9/16″, and 5/8″ Note: THE ROTOR BOLT MUST BE REMOVED FROM YOUR MACHINE TO CORRECTLY DETERMINE THE NEXT TWO ATTRIBUTES! |
 |
Length of Rotor Bolt
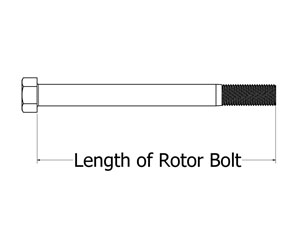
The second attribute we need is the Length of the Rotor Bolt in inches. It is the “Nominal distance from the Bottom of the Head to the threaded end of the bolt,” as depicted in the adjacent image. We say “NOMINAL” because normal manufacturing tolerances of the bolt may cause the length of the bolt to vary slightly. Note: YOU NEED TO ACTUALLY MEASURE THIS DISTANCE! Don’t try to shortcut the process by looking up information in your instruction manual, parts list, or on our website! ALL of these resources have the potential to inaccurately reflect the parts used to actually build YOUR SPECIFIC UNIT. Measuring this distance is the ONLY way to ensure you get the right parts. Valid values for this attribute are: 4 1/2″, 5″, and 5 1/2″ Note: THE ROTOR BOLT MUST BE REMOVED FROM YOUR MACHINE TO CORRECTLY DETERMINE THE NEXT ATTRIBUTE! |
 |
Threads in Outer End of Rotor Shaft Hole
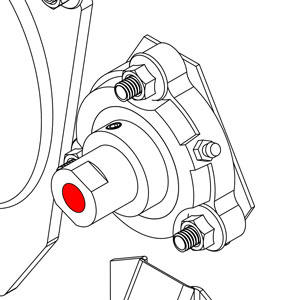
The third attribute we need you to provide is if there are Threads in the Outer End of the Rotor Shaft Hole. The adjacent image shows the location of the rotor shaft hole (colored red). Is the hole going through the shaft smooth? If it is, then there are No Threads. If it looks like the inside of a nut, then it Has Threads. Originally, Patriot rotors DID NOT have internal threads tapped inside the end of the rotor shaft. In late 2002, we began manufacturing our rotors with internal threads tapped inside the end of the rotor shaft. We felt this change would benefit any customer who had trouble removing their rotor. As we worked through our untapped rotor inventory in 2003, Patriot chippers began shipping with threaded rotors. Note: It’s essential to know this with certainty because the rotor shaft inside diameter and length were changed when we added the internal threads. CRITICAL: If your rotor DOES NOT HAVE internal threads, YOU WILL HAVE TO DRILL AND TAP THE END OF THE ROTOR SHAFT to use Patriot’s Rotor Removal Tool. ONLY YOU CAN DECIDE IF YOU HAVE THE ABILITY AND DESIRE TO TAP THE END OF THE ROTOR SHAFT. Valid values for this attribute are: No Threads and Has Threads |
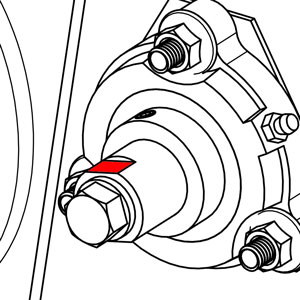 |
Flats at Outer End of Rotor Shaft
The fourth attribute we need you to provide is if there are Flats at the Outer End of the Rotor Shaft. The adjacent image shows one of the flats (colored red) on a rotor shaft that HAS FLATS machined into the outer end of the rotor shaft. The original chipper design did not have flats. These two flats were eventually added to allow the customer to use a wrench to turn the rotor manually. Valid values for this attribute are: No Flats and Has Flats |
| Brand of Motor/Engine
The fifth and final attribute we need you to provide is the Brand of the Electric Motor or Gas Engine that powers your Patriot wood chipper. We know specific details regarding the various electric motors and gas engines used on our wood chippers over the years. These details help act as one final “fact check” of the other attributes you have defined to eliminate the chances of us sending you the wrong components. Valid values for this attribute are: Electric Motor (any brand), Tecumseh, Briggs Vanguard, Honda, and Unknown |
|
| Still Have Questions?
Don’t despair, call us at 1-800-798-2447 or email us at info@patriot-products-inc.com We want you to get the correct Patriot Rotor Removal Tool the first time. |


